> ## Documentation Index
> Fetch the complete documentation index at: https://helpcenter.recotap.com/llms.txt
> Use this file to discover all available pages before exploring further.
# Salesforce Integration
> Set up Salesforce integration for account, deal, and activity sync into Recotap.
## Salesforce Integration
The bi-directional integration with Salesforce enables you to seamlessly import account data into Recotap and export valuable account insights back to Salesforce.
## **Connect Your Salesforce Account With Recotap**
1. **Login to Recotap**:
* In the Client Panel, navigate to the **Settings Icon** in the top-right corner of the title bar.
* Go to **Workspace** > **Integrations** from the navigation menu.
2. **Select Salesforce**:
* From the list of available CRM tools, click the **Connect** button next to Salesforce.
3. **Authenticate Your Salesforce Account**:
* You will be redirected to the Salesforce login page.
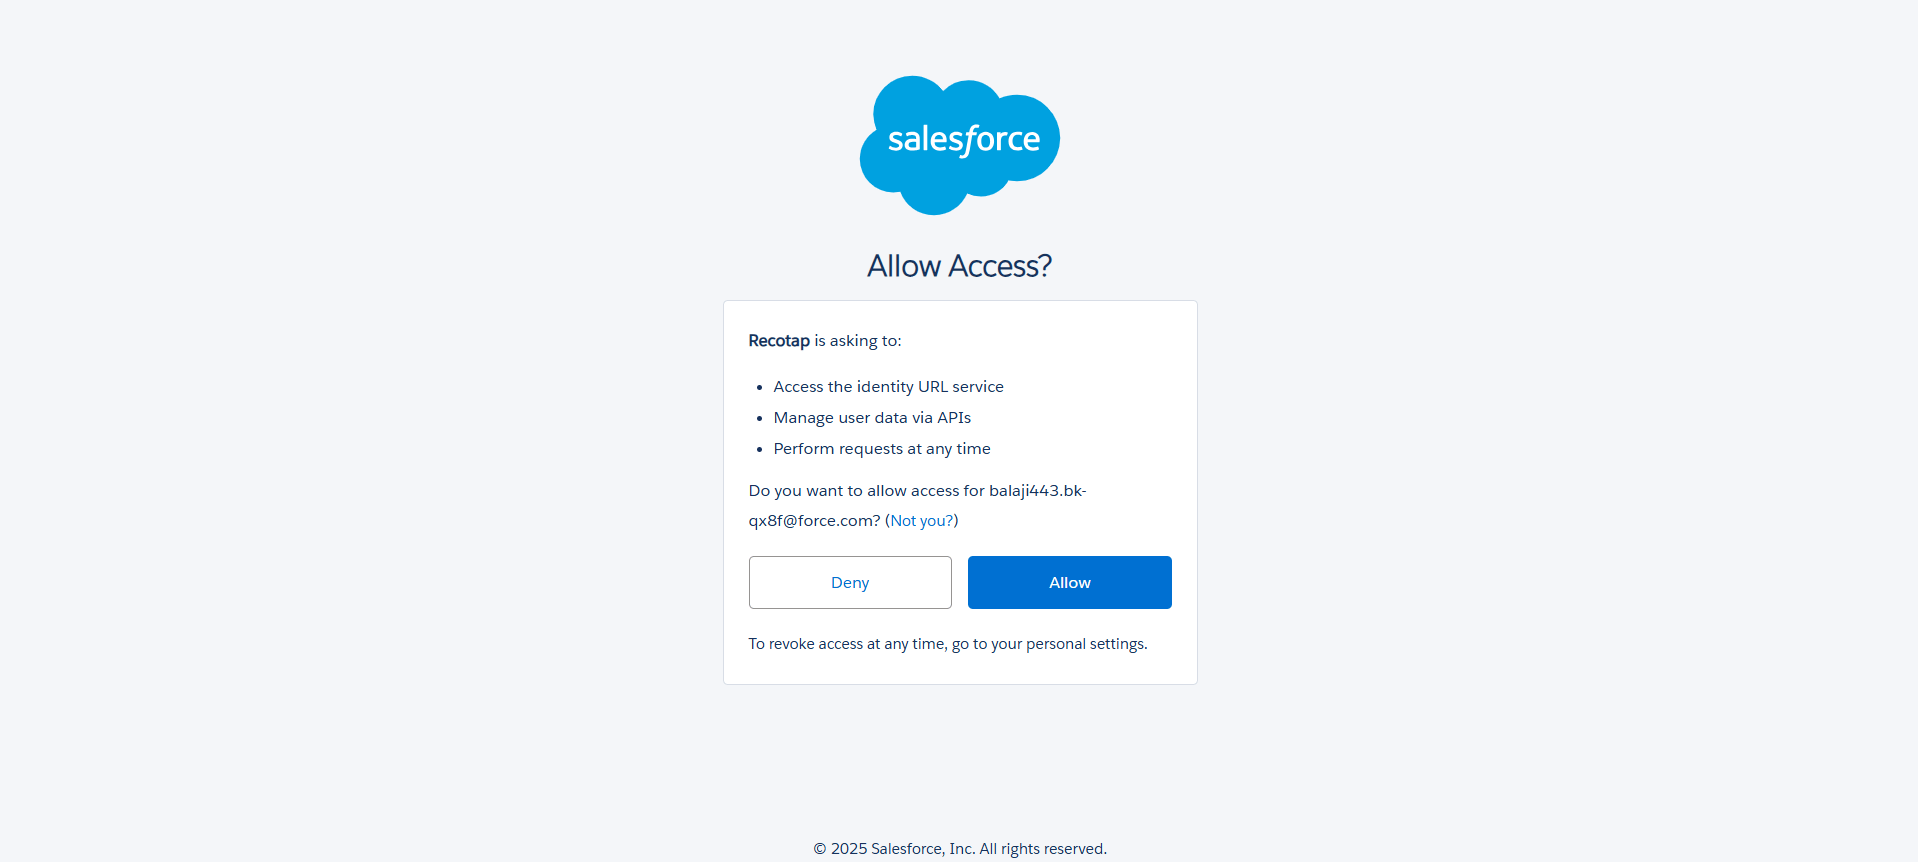 * Enter your **Salesforce Username** and **Password**, and select **Log In**.
> Note: You may be prompted to enter a verification code after entering your Salesforce credentials to complete the integration process.
4. **Verify Connection**:
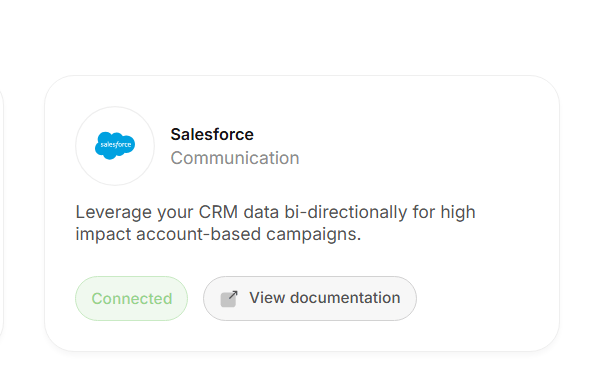
* Once logged in, you will be redirected to the Recotap Integration Dashboard, where Salesforce will appear as **Connected**.
* Enter your **Salesforce Username** and **Password**, and select **Log In**.
> Note: You may be prompted to enter a verification code after entering your Salesforce credentials to complete the integration process.
4. **Verify Connection**:
* Once logged in, you will be redirected to the Recotap Integration Dashboard, where Salesforce will appear as **Connected**.
 ## **Configuration and Mapping of Properties After Salesforce Integration**
Once Salesforce is integrated with Recotap, you must configure property mapping to ensure seamless data synchronization between both platforms.
### **Steps to Configure Property Mapping:**
1. **Access the Configuration Settings**:
* Navigate to the three-dot menu (…) next to Salesforce in the **Integrations Dashboard**.
* Click **Configure**.
2. **Select Fields to Map**:
* On the **Field Mapping Screen**, choose the properties you wish to map.
* **Example Mappings**:
* **Recotap Property**: *Company Name* → **Salesforce Property**: *Account Name*.
* **Recotap Property**: *Domain* → **Salesforce Property**: *Website URL*.
3. **Verify Mapping**:
* A **green checkmark** under the **Mapped** column confirms that the mapping is complete and valid.
4. **Save Configuration**:
* Click **Save** to finalize the field mappings and ensure the configuration is applied.
## **Configuration and Mapping of Properties After Salesforce Integration**
Once Salesforce is integrated with Recotap, you must configure property mapping to ensure seamless data synchronization between both platforms.
### **Steps to Configure Property Mapping:**
1. **Access the Configuration Settings**:
* Navigate to the three-dot menu (…) next to Salesforce in the **Integrations Dashboard**.
* Click **Configure**.
2. **Select Fields to Map**:
* On the **Field Mapping Screen**, choose the properties you wish to map.
* **Example Mappings**:
* **Recotap Property**: *Company Name* → **Salesforce Property**: *Account Name*.
* **Recotap Property**: *Domain* → **Salesforce Property**: *Website URL*.
3. **Verify Mapping**:
* A **green checkmark** under the **Mapped** column confirms that the mapping is complete and valid.
4. **Save Configuration**:
* Click **Save** to finalize the field mappings and ensure the configuration is applied.
